How to Mod Podge furniture
 |
| I bought this cute little desk from a garage sale for $10. In great shape but the colors were dated and the knobs didn't match. |
DIY furniture
 |
| I bought this cute little desk from a garage sale for $10. In great shape but the colors were dated and the knobs didn't match. |
 |
| So I bought this adorable chair at a yard sale for $5. I loved everything about it, the colors, etc. |
  |
| Even the details were perfect. However, the cushion looked flat and made the colors look dated because of its condition. I decided the cushion had to go. I have a few other tutorials in my blog see: chevron-rocking-chair and chevron sea foam chair re-upholstery |
  |
| As with every chair re-upholstery, turn the chair over and unscrew the cushion. |
 |
| Remove the Cushion, if you wanted to paint the chair now would be the time. |
 |
| As you can see, there was plenty of room... |
 |
| After I felt satisfied I grabbed a cute piece of owl duck cloth and went to work, stapling the fabric directly over the existing re-stuffed cushion, pulling as tightly as possible. |
 | |||||
| Once you've covered the existing cushion, screw the cushion back on and Voila! Now I know some of you may wonder why I painted the chair white, I re-did this desk for my niece and I needed a chair to match. Whooo Hoooo
|
 |
| Photo Cred: collegecandy.com |
 |
| Well, I set out to make a couple of shotski's of my own. Luckily some old man sold me these at a garage sale around the corner from my house $3 bucks for both. He thought I was crazy for buying junk. |
 |
| Obviously they were sitting outside in the Arizona sun for years, luckily it doesn't matter what condition you find ski's in !!! |
 |
| First I tried to chip off this top layer to make a beautiful exposed wood shotski like the one Bravo Andy has but it was too difficult for me so I used the nearest can of spray paint. |
 |
| I found these sake glasses in an abandoned house I was listing and figured they'd do. Space them out to give people enough room to stand next to each other while taking a guzzlet. |
 |
| Let this dry overnight. |
 |
| Finished shotski Now for your viewing pleasure! It brings the family together and is fun for all ages! |
 |
| The original piece had doors covering the two bottom shelves. I tried to make them work but how else could I display all my knick knacks and pictures? |
 |
| The item inside the crystal ice bucket on the bottom left is my broach bouquet I made for my wedding. So worth the money and DIY time. Maybe someday I'll post about how I made that. Here is a great tutorial that I used: DIY Broach Bouquet |
 |
| As you can see here one of these drawers is not like the others. The wood work was missing, I considered ordering all new overlays from myoverlays.com but then figured that if I was trying to re-sell I wanted to keep my costs down. I decided on a MacKenzie Childs Inspired checkered pattern. |
 |
| I took the original hardware off and hand painted it with Martha Stewart Metallic in Thundercloud. I also turned it up-sidedown to give a different look. |
 |
| Originally I left it with just two different silver colors. But I was bored and wasn't proud of my piece. |
 |
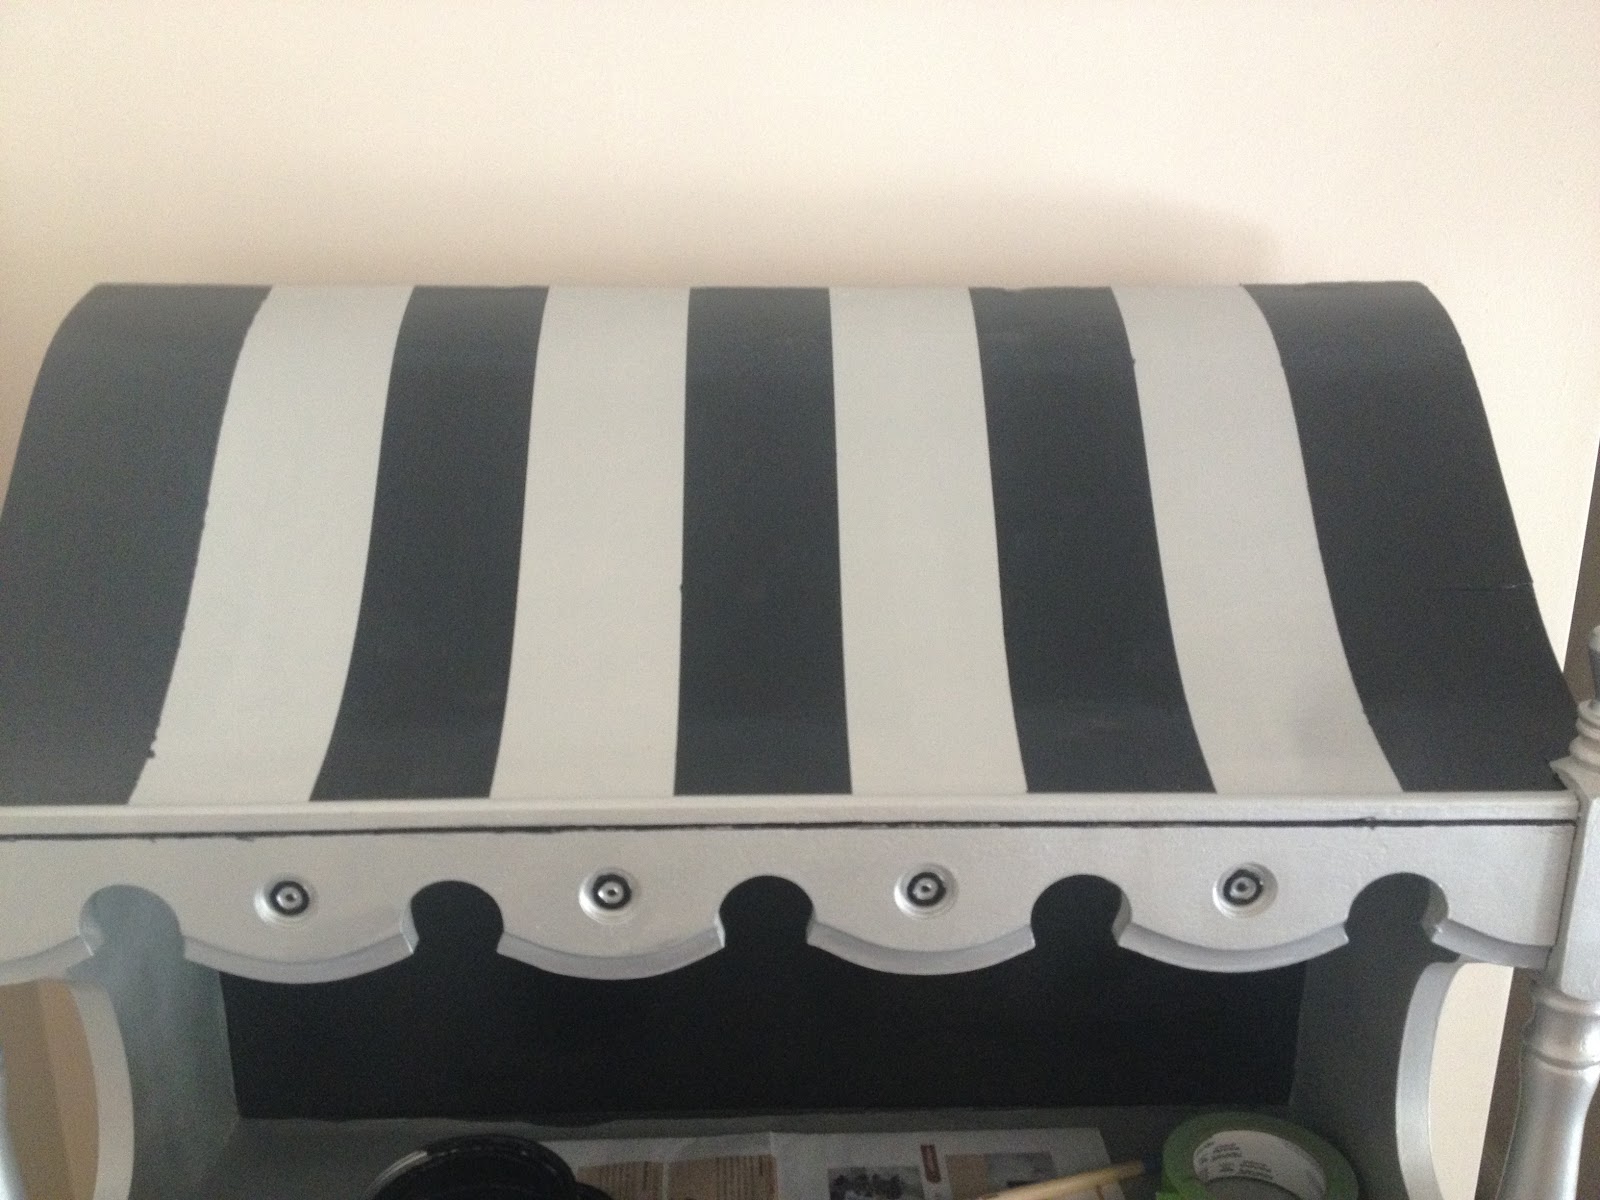
| I used the frog tape to do the edges but in the future I would probably just try and free hand. It didn't work so well on this piece because of the texture. |
 |
| I changed the backsplash from Thundercloud to a gloss black to give the piece more contrast. |
 |
| Now it's got a POP! |
 |
| I accented the different areas of wood work! |
 |
| Still wasn't what I'd pictured..... |
 |
| So I painted the silver on the top with a light white wash coat. |
 |
| TaDA! |
 |
| To paint a checkered pattern. Tape off the area and label. |
 |
| Mackenzie Childs inspiration |
 |
| Pinterest Inspiration. Follow me http://pinterest.com/laurenforster/ |
 |
| Cute silver furniture at Z-Gallerie that inspired me! |